Here at SheKnows, we’re obsessed with nail art. It’s a great way to go beyond your basic mani and have some serious fun with your nails.
Nail art trends to try
We reached out to four fabulous nail art bloggers for some of their best looks, along with some tips and tricks to recreate their designs at home.
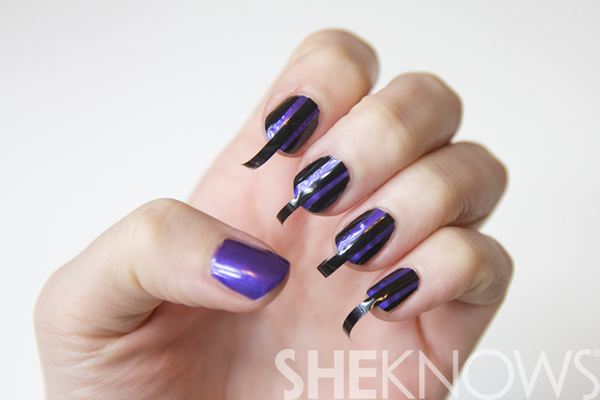
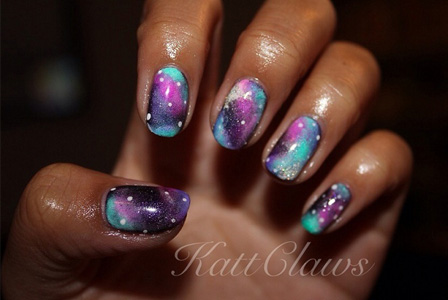
Katt Claws: Galaxy Nails
We love the starry, glittery quality of these playful, eye-catching nails and we can't wait to try them out for ourselves.
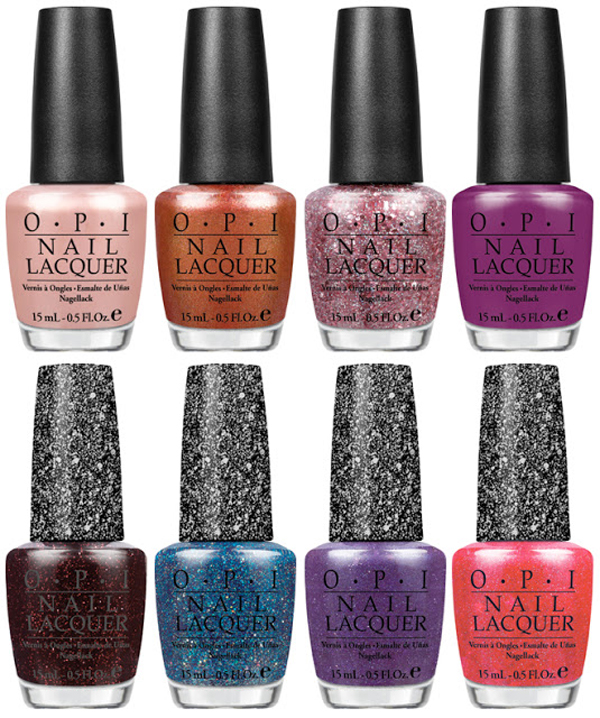
Polishes:
- Seche Vite - Top Coat
- Essie - Midnight Cami
- Milani - White On The Spot
- China Glaze - Turned Up Turquoise
- China Glaze - Purple Panic
- CND Effects - Silver Sparkling
Directions:
- Paint your nails with your base color . Dark colors are always preferable, like black or dark purple.
- Sponge some white in random areas around each nail, starting in the corners and working toward the middle.
- Sponge China Glaze Turned Up Turquoise partially over the white. Leave a bit of white showing for the next step.
- Over the white that's left, sponge on China Glaze Purple Panic. Overlap slightly with the turquoise for better blending.
- Next, add CND Effects Silver Sparkling over any base color still showing.
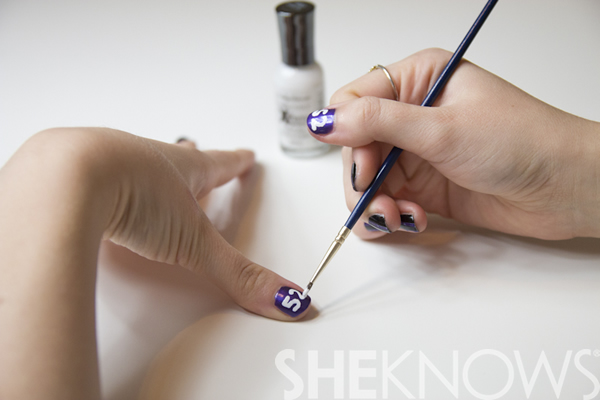
- Use a dotting tool to achieve the little white dots.
- Finish with Seche Vite top coat and you're done.
Tips & tricks
- Wait in between each step for the polish to dry. If you try sponging too soon, you might lift up your previous color and ruin the whole manicure.
- When sponging each of your colors, try not to blend them too much. It can turn a murky, unwanted color. The less blending, the better. Your top coat will tie it all together.
- Don't be afraid to use different colors -- it's your galaxy!
Up next: Floral nails >>
{pageBreak}

Here at SheKnows, we’re obsessed with nail art. It’s a great way to go beyond your basic mani and have some serious fun with your nails.
Nail art trends to try
We reached out to four fabulous nail art bloggers for some of their best looks, along with some tips and tricks to recreate their designs at home.
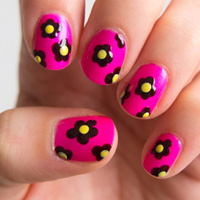
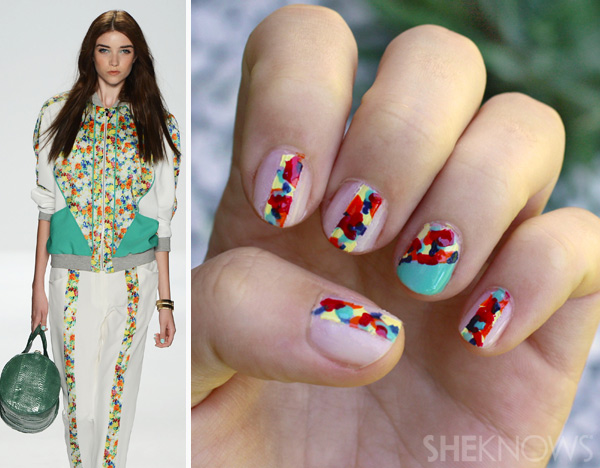
Mr. Candiipants: Floral Nails
Go bold with a fun, floral mani that’s perfect for the last few weeks of summer.
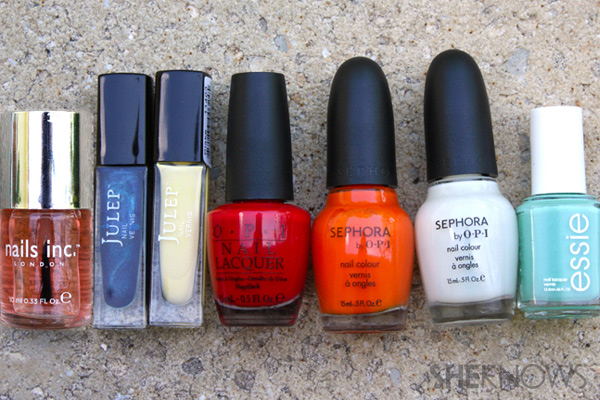
Polishes:
- American Apparel - Passport Blue
- OPI Kiss - Me On My Tulip
- OPI - Red Lights Ahead Where
- OPI - Ogre the Top Blue
- Sally Hansen - White On
- China Glaze - For Audrey
- OPI - Caught With My Khakis Down
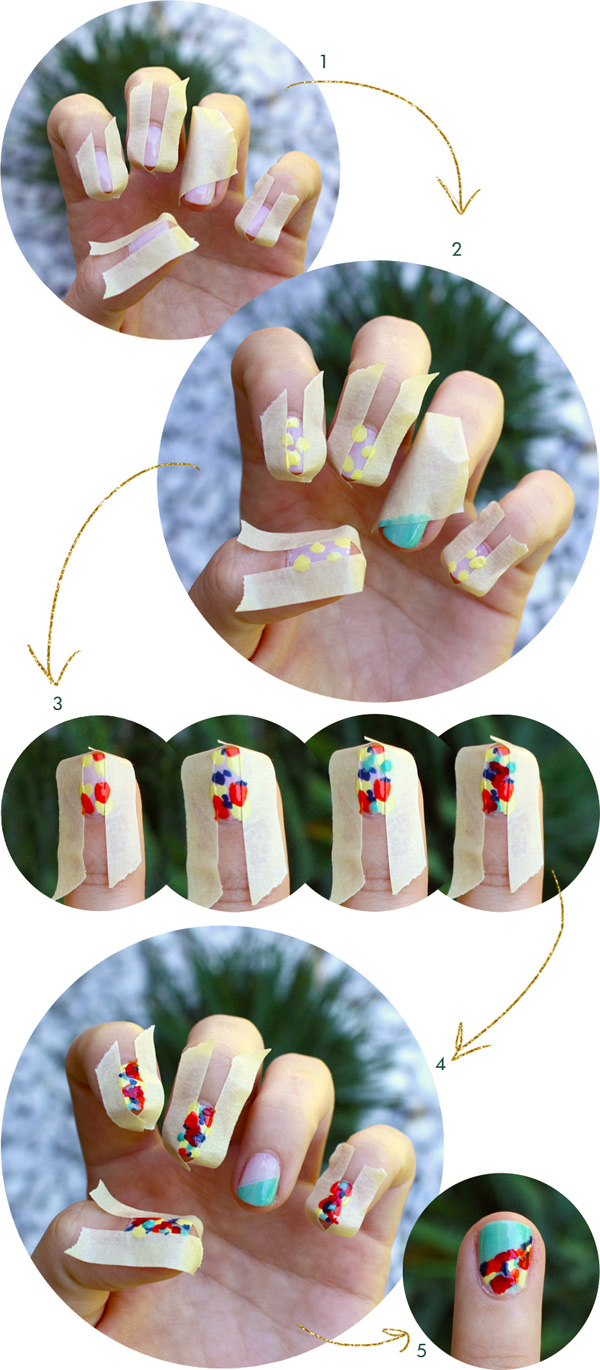
Directions:
- Start with the base coat .
- Then, start creating your flowers. Add the bright pink color on each nail, followed by the white, then aqua, then blue, then red, and finish up with the army green.
- The key with this design is not being too neat with it and making each flower look a little different.
Tips & tricks
- All of the details were done with a medium length striper brush.
- It's important to clean the brush out with acetone or any nail polish remover between each color and if the polishes start getting too tacky.
Up next: Mermaid Nails >>
{pageBreak}

Here at SheKnows, we’re obsessed with nail art. It’s a great way to go beyond your basic mani and have some serious fun with your nails.
Nail art trends to try
We reached out to four fabulous nail art bloggers for some of their best looks, along with some tips and tricks to recreate their designs at home.
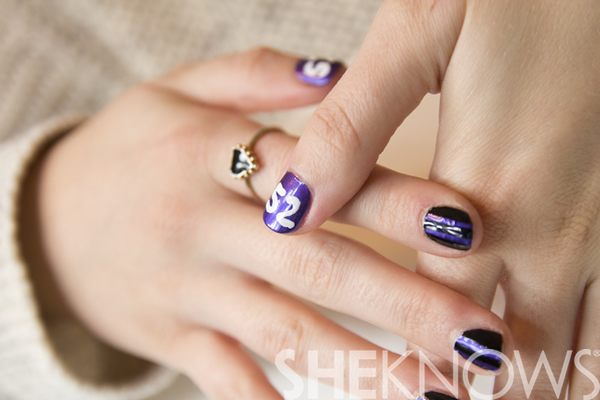
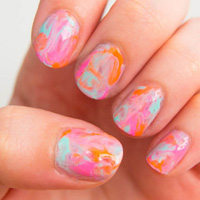
Little Nails: Mermaid Nails
Just try not to swoon when you get a look at this girly but oh-so-chic mani featuring mermaid detailing we can’t resist.
Polishes:
- OPI - Ate Berries In The Canaries
- OPI - Planks A Lot
- China Glaze - Light As Air
- China Glaze - Heli-Yum
- China Glaze - Barry M Gold
Directions:
- Start with your base coat.
- Then, starting from the tip of your nail, make a row of dots using different colors.
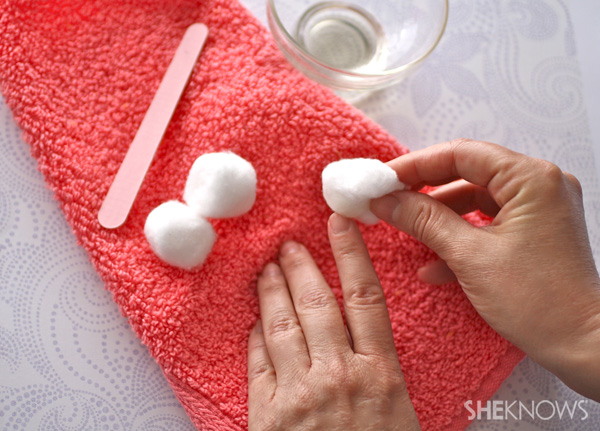
- After each dot, wipe the dotter on a cotton ball soaked with nail polish remover so the colors don't get all mixed up. Using several different colors makes it easier to keep them all separated.
- After the first row, continue adding different colored dots down the nail, overlapping them like the scales of a fish.
- At the end, use the same color as the base coat to form a starting-off point for the scales.
- Finish it all off with a top coat for sheen.
Tips & tricks
- If you can use a dotting tool and have a bit of time, this look is doable. The key is patience and precision, but remember to have fun.
- You can choose different colors. Check out another way to get the look here.
Up next: Aztec Nails >>
{pageBreak}

Here at SheKnows, we’re obsessed with nail art. It’s a great way to go beyond your basic mani and have some serious fun with your nails.
Nail art trends to try
We reached out to four fabulous nail art bloggers for some of their best looks, along with some tips and tricks to recreate their designs at home.
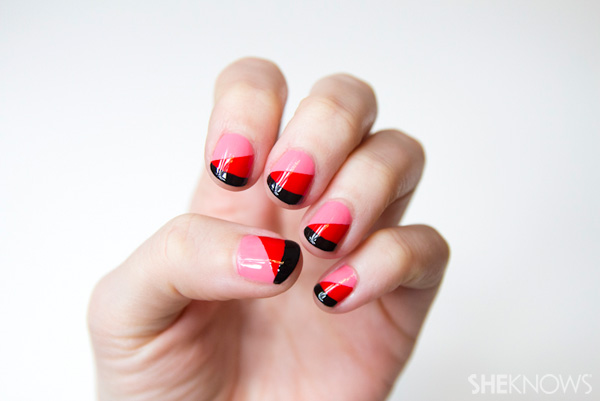
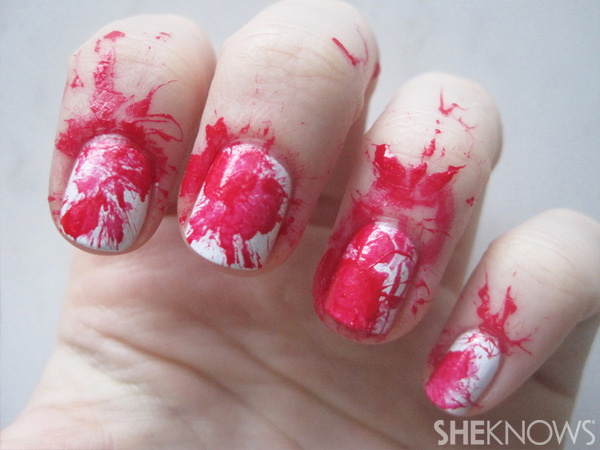
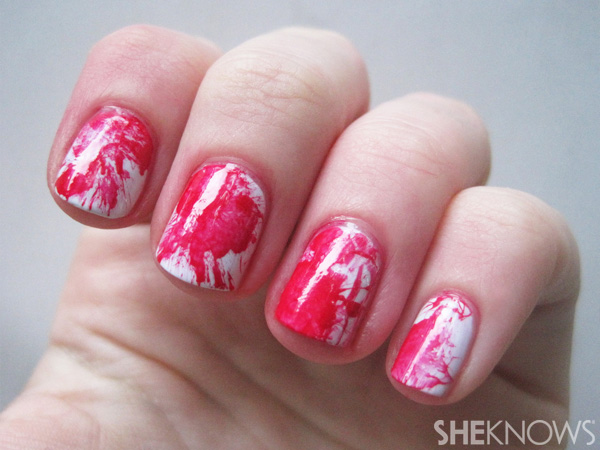
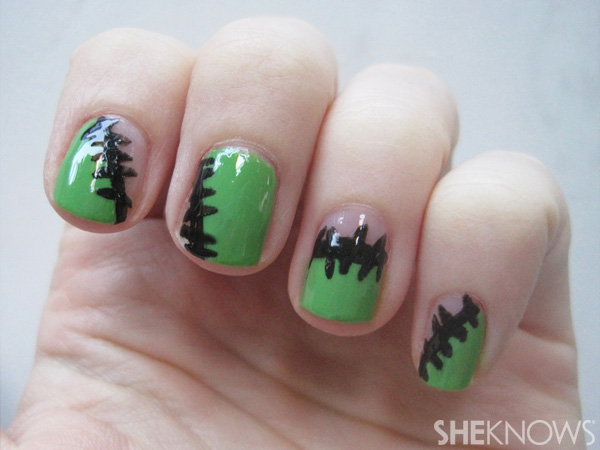
Love Life Lacquer: Aztec Nails
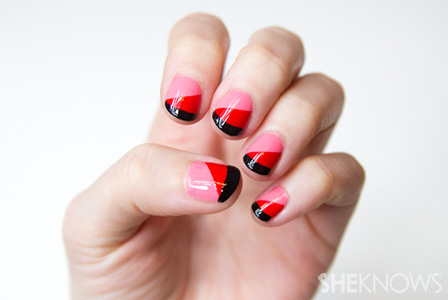
Love the neon trend but not sure how to wear it? Why not go bold on your nails? We fell hard for this simple yet stylish mani using Aztec-inspired designs on a get-noticed neon background.
Polishes:
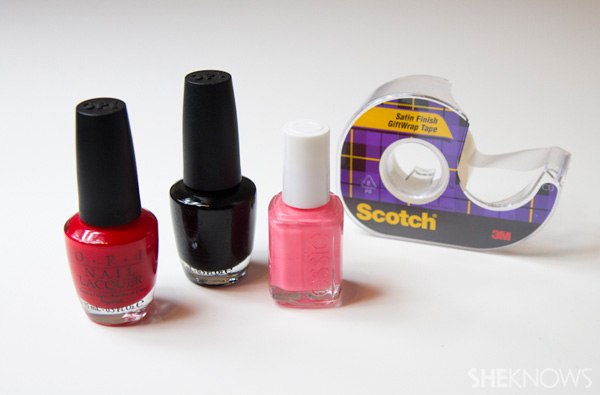
- China Glaze - Flip Flop Fantasy
- NYC - City Blackout
Directions:
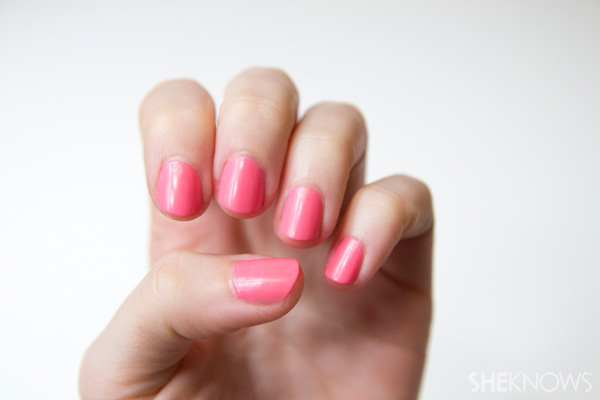
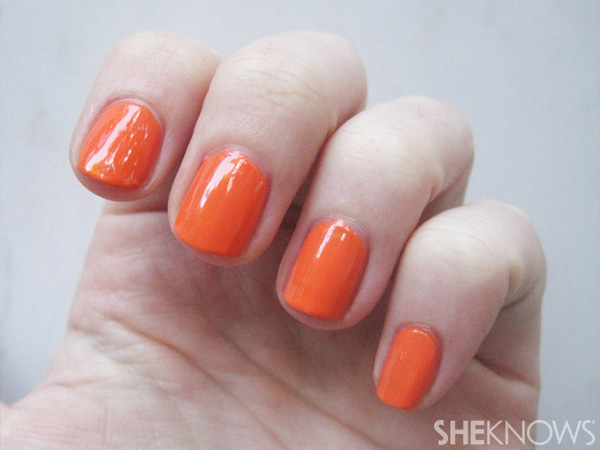
- Start by painting your nails with a coral neon hue.
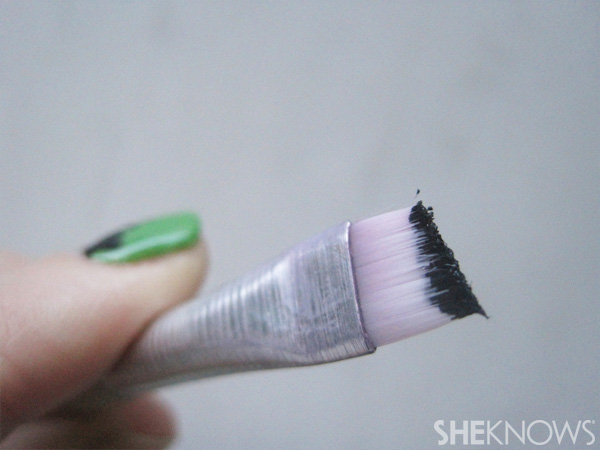
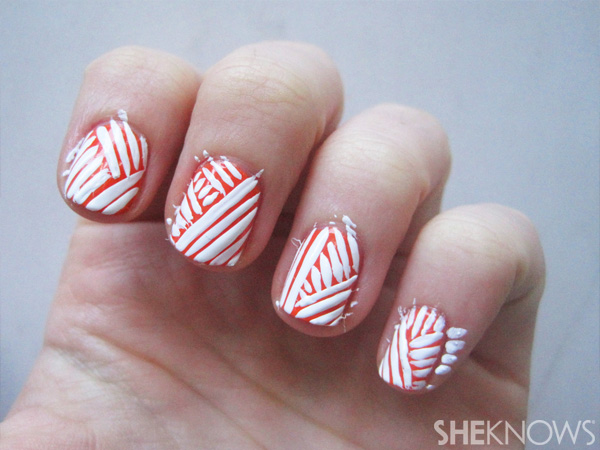
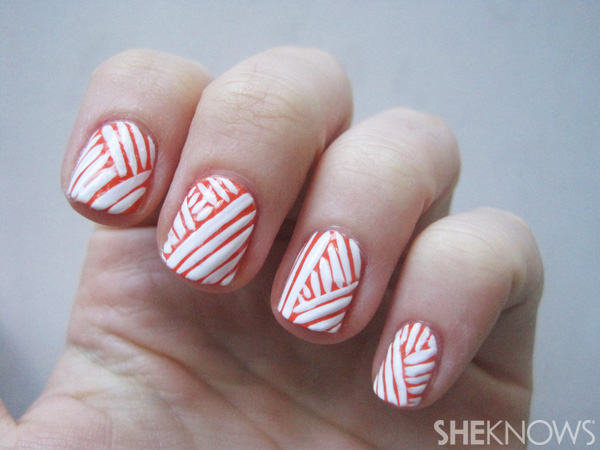
- Then, simply start to create some random lines atop the neon with a black polish using a fine nail art brush.
- Finish with a top coat of your choice.
Tips & tricks
- If you find it hard to create neat lines, place some dots with a toothpick or a bobby pin on your nail and then connect these dots with a fine nail art brush.
- If you made a mistake and your lines aren't as crisp as you want them, you can just outline the black parts with your base color.
Up next: Polka Dot Nails >>
{pageBreak}

Nail art trends to try
Here at SheKnows, we’re obsessed with nail art. It’s a great way to go beyond your basic mani and have some serious fun with your nails. We reached out to four fabulous nail art bloggers for some of their best looks, along with some tips and tricks to recreate their designs at home.
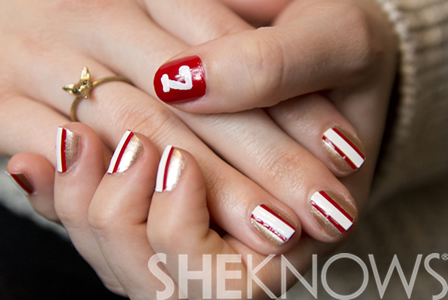
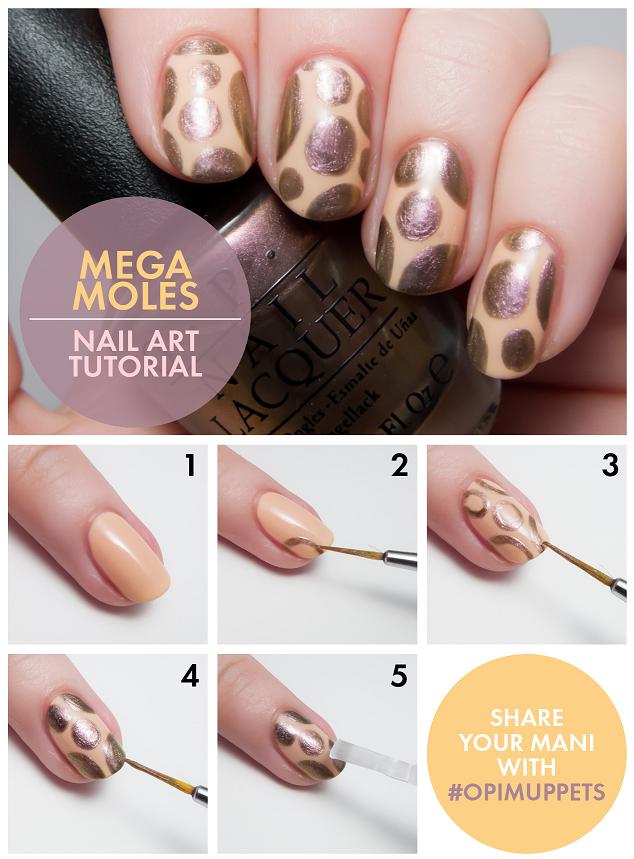
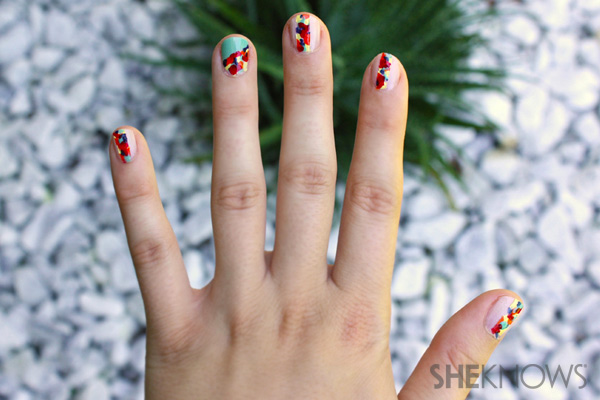
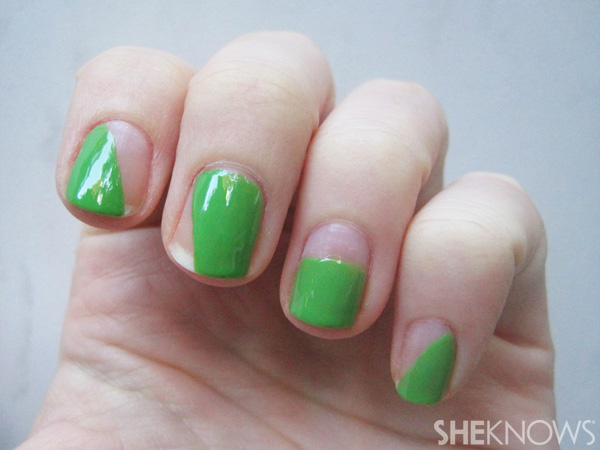
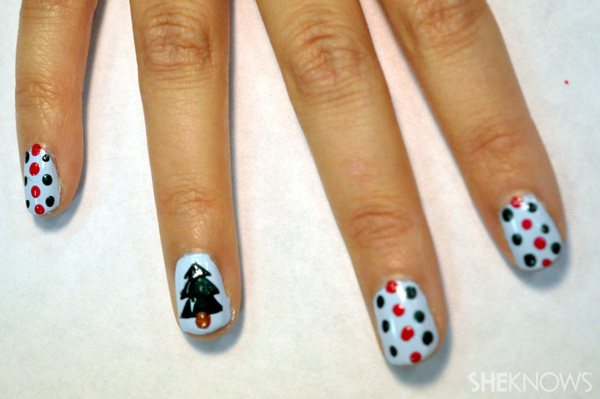
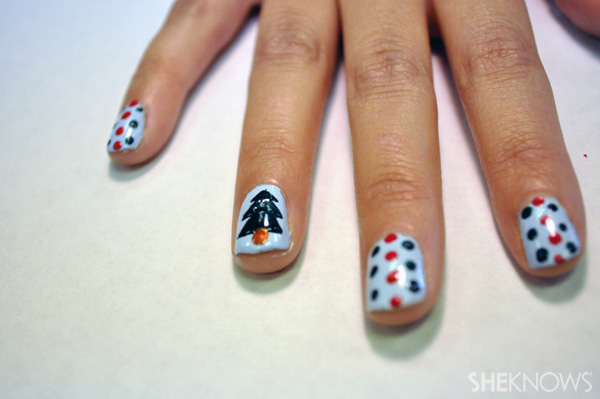
One Nail To Rule Them All: Polka Dot Nails
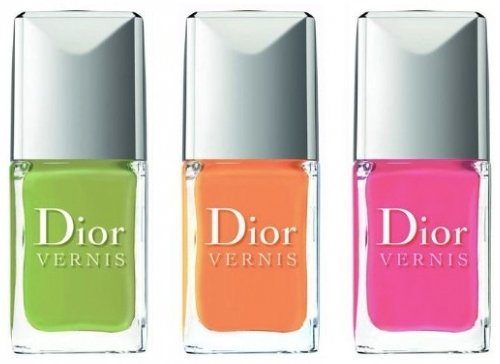
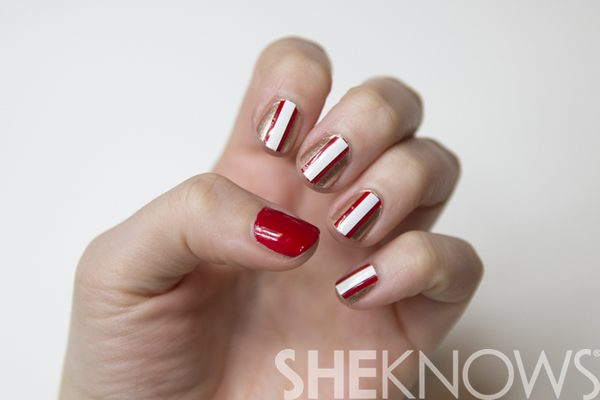
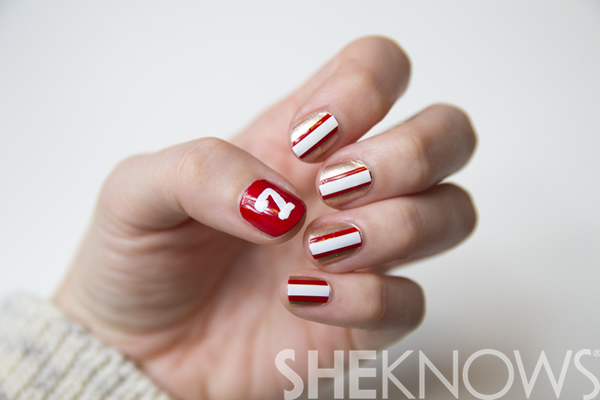
What better way to make a statement than with pretty polka dot nails? We love this white on green mani featuring the fun, floral twist of roses on the thumb.
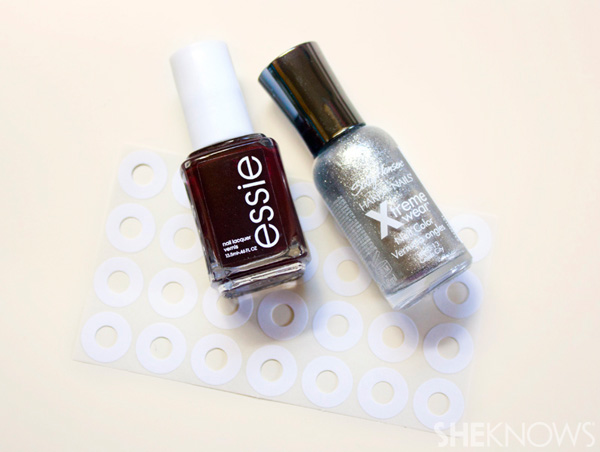
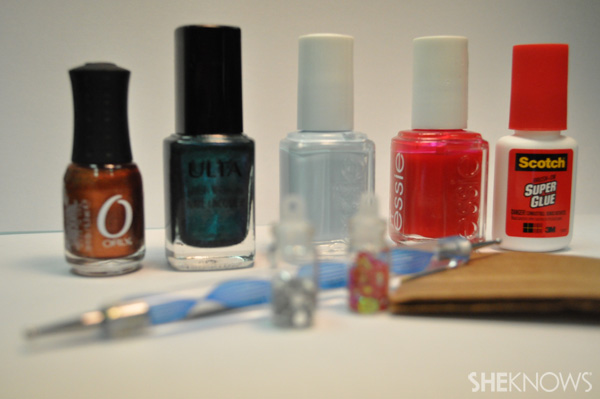
Polishes:
- Models Own - Lime Green
- Barry M - Matt White
- Barry M - Red
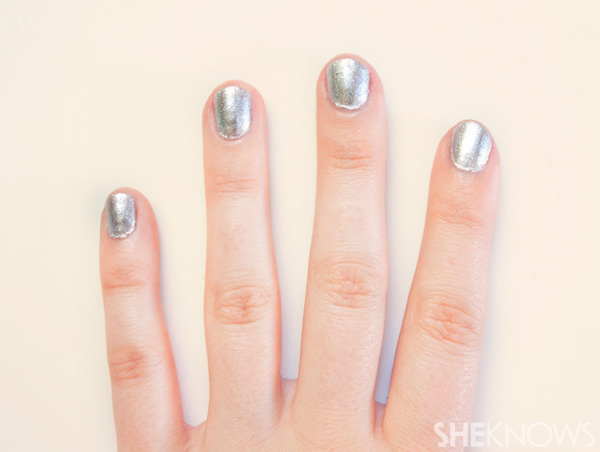
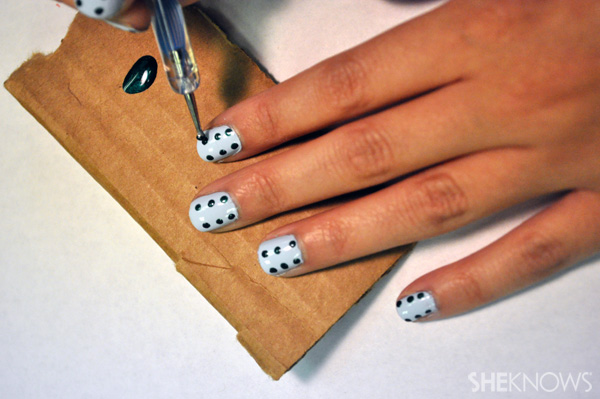
Directions:
- Start with your base colors. In this case, use Lime Green for your fingers and Matt White for your thumb.
- When your base is completely dry, apply the white polka dots to the green.
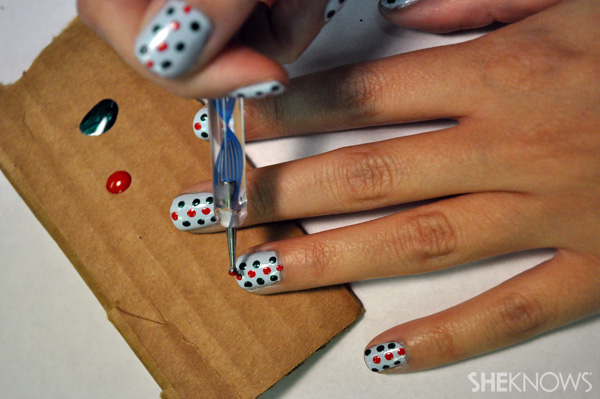
- Next, paint bigger dots in red on your thumb using the same technique. While these dots are still wet, use a pin or a very thin dotting tool to create a swirl in each dot. Wipe off any polish build up from your tool and repeat as necessary.
- Using your dotting tool, place green dots around the roses in order to create leaves.
- Once dry, apply a top coat to your design.
Tips & tricks
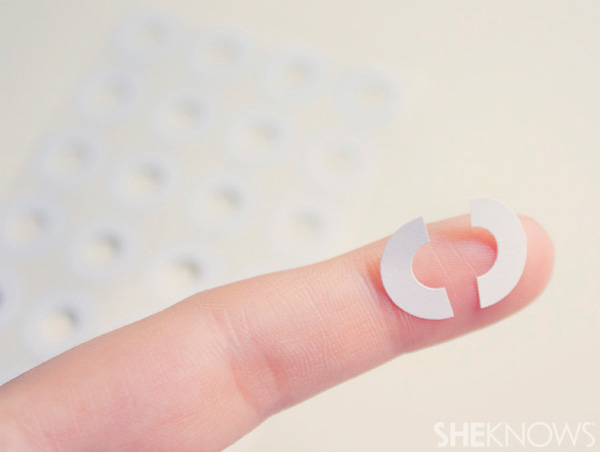
- When applying your dots, it's a good idea to use a small plastic tray to drop nail polish onto and then dip the dotting tool into that.
- Be patient. The calmer you are, the clearer your dots will turn out.
![]() Tell us
Tell us
What are your go-to nail art designs? Share in the comments below!
Watch: Nail Tips with Katie Cazorla
TV Guide star Katie Cazorla shares nail tips and trends with SheKnows.
TV Guide star Katie Cazorla nail tips and trends with SheKnows.
More about nails
How to use gel nail polish
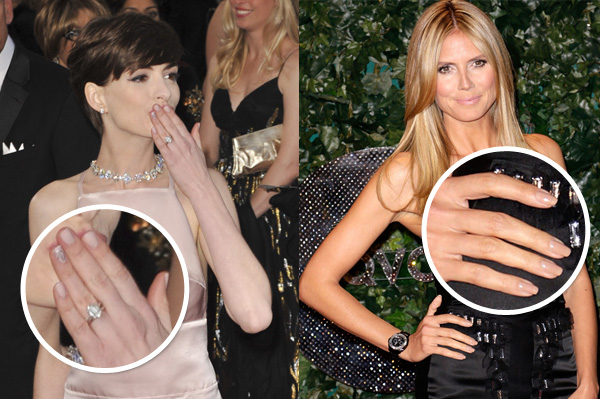
4 Celebrity manicure inspirations
Tips for long-lasting nail color


 Green, three ways